
This project was originally introduced to me by one of my professors, Dr. Tetzlaff. While abroad at a convention about digital preservation of art, he met Jo Castle who is a senior photographer for The John Rylands Research Institute & Library – University of Manchester. Her original project (link to project here) took a work of art created by Dom Sylvester Houedard and recreated it digitally. The interesting part of the piece is that the medium is a piece of paper folded into a classic fortune teller. As the viewer moves the fortune teller, the full poem is revealed. The issue that Jo was having was getting the folding animations as well as the movement of the fortune teller combined into one animation. This is where I come into the picture.
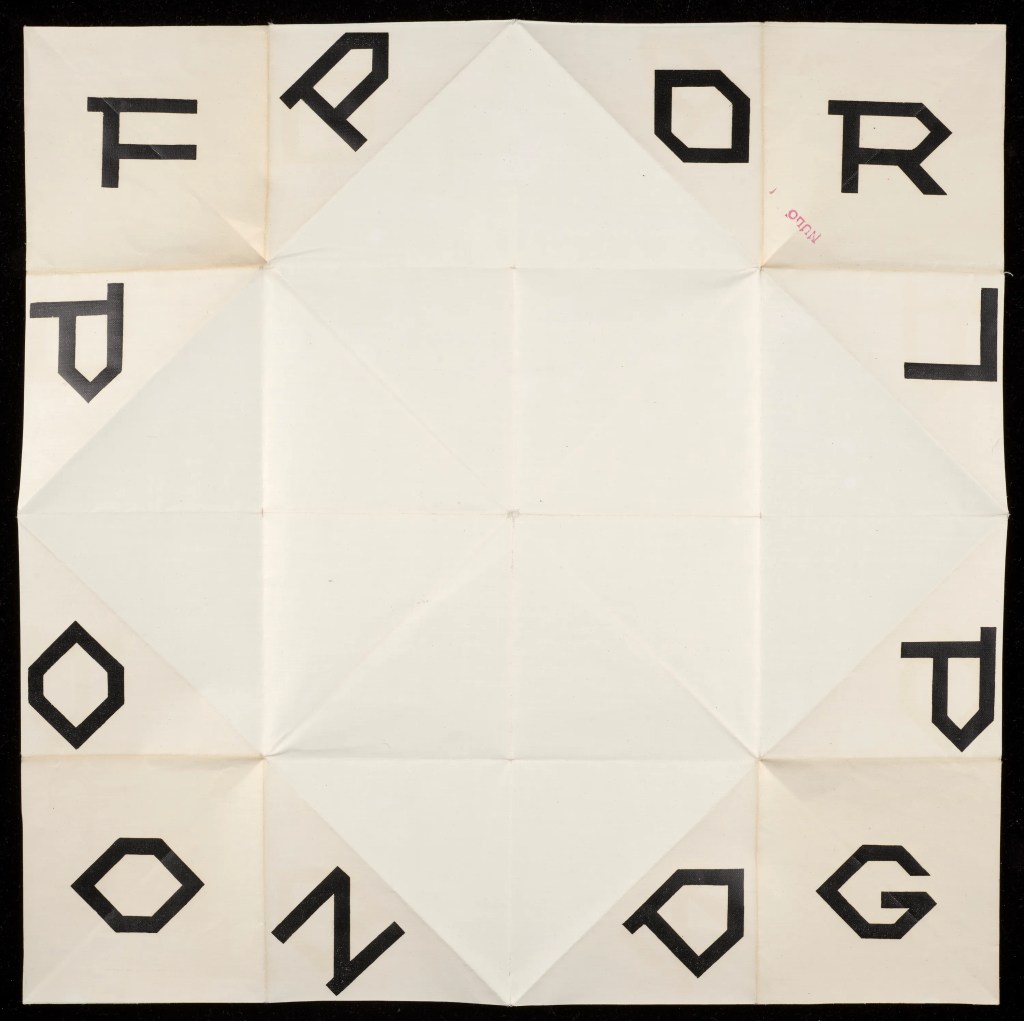
For animating origami in 3D, I’ve personally found success with Houdini. The node-based modelling and ability to group primitives allow for the selection of specific faces to be transformed and then keyed on the animation timeline. This project uses Blender instead of Houdini due to license constraints, which pose a couple of issues.
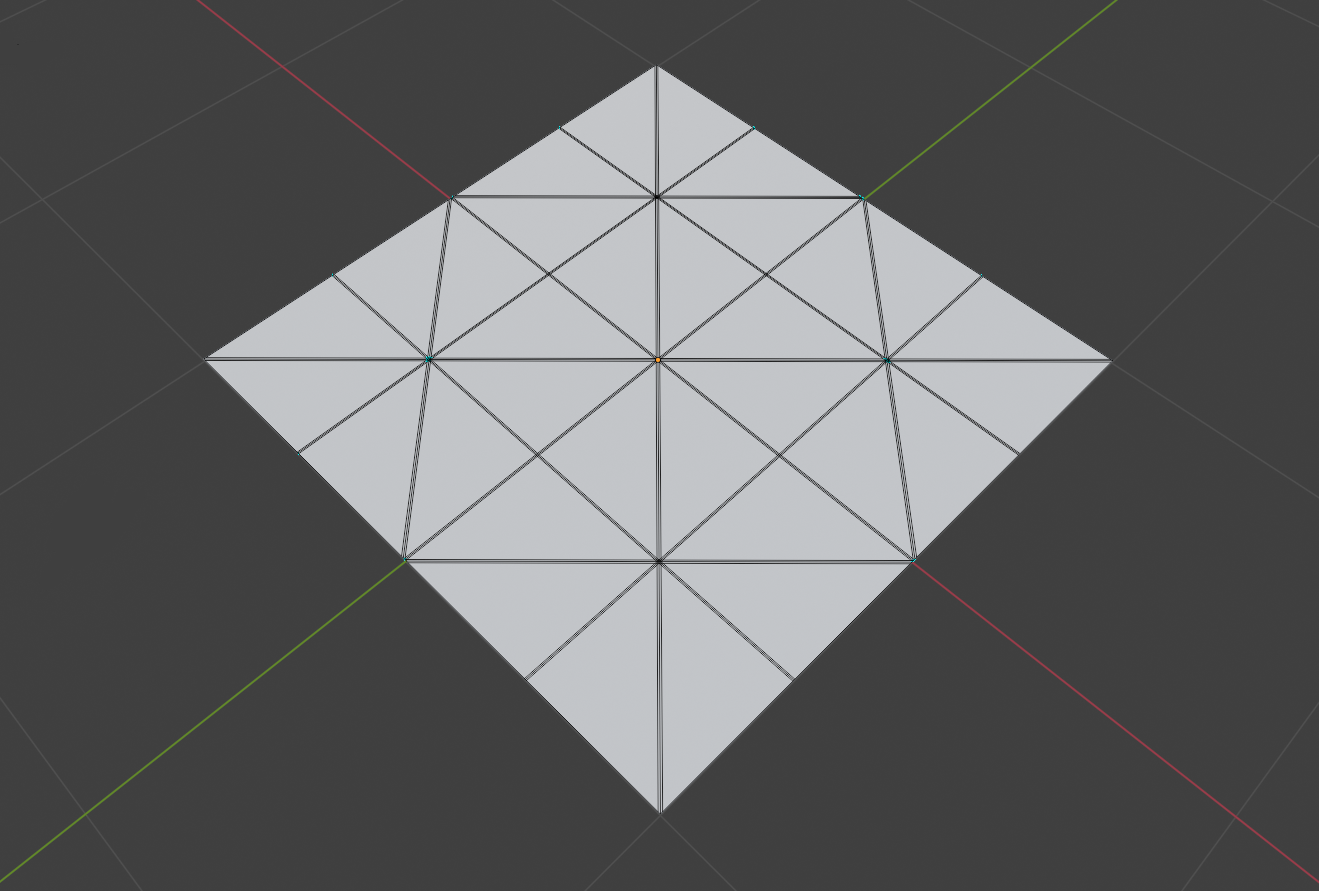
Setting up the plane that is supposed to act as the paper requires a bit of preplanning. With my other projects, I’ve found that in order for the polygons to not overlap when you fold the plane, you need the fold edges to have extra fencing edges to slightly offset the top plane that got folded over the bottom plane.
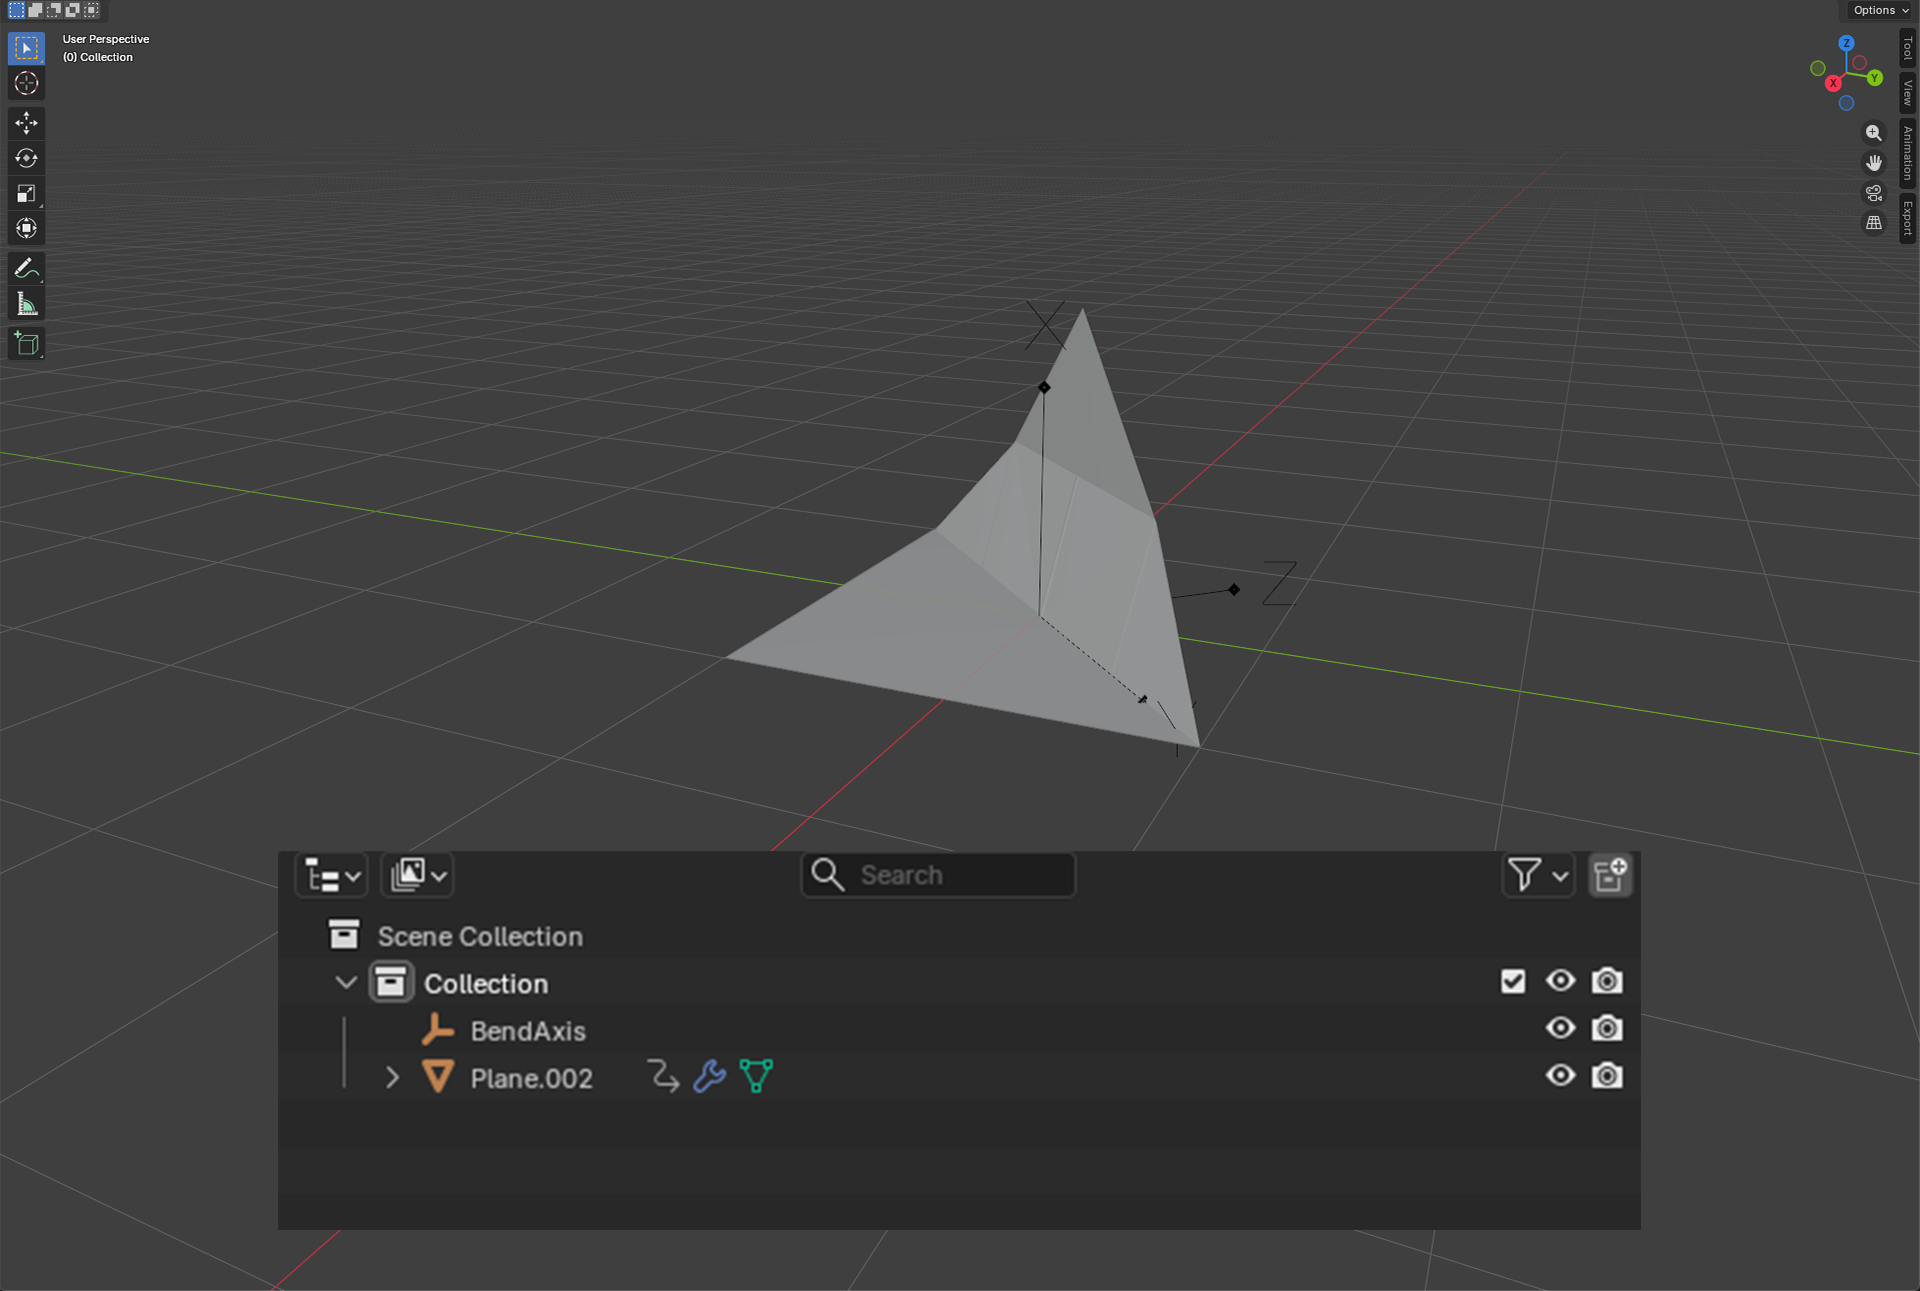
The first issue that I ran into was the built-in bending function. In Blender, it is the Simple Deform modifier that you apply to the mesh. The issue with this is that each bend requires a null node that acts as the bend axis. Another issue with Simple Deform is that it doesn’t fold the polygons accurately.
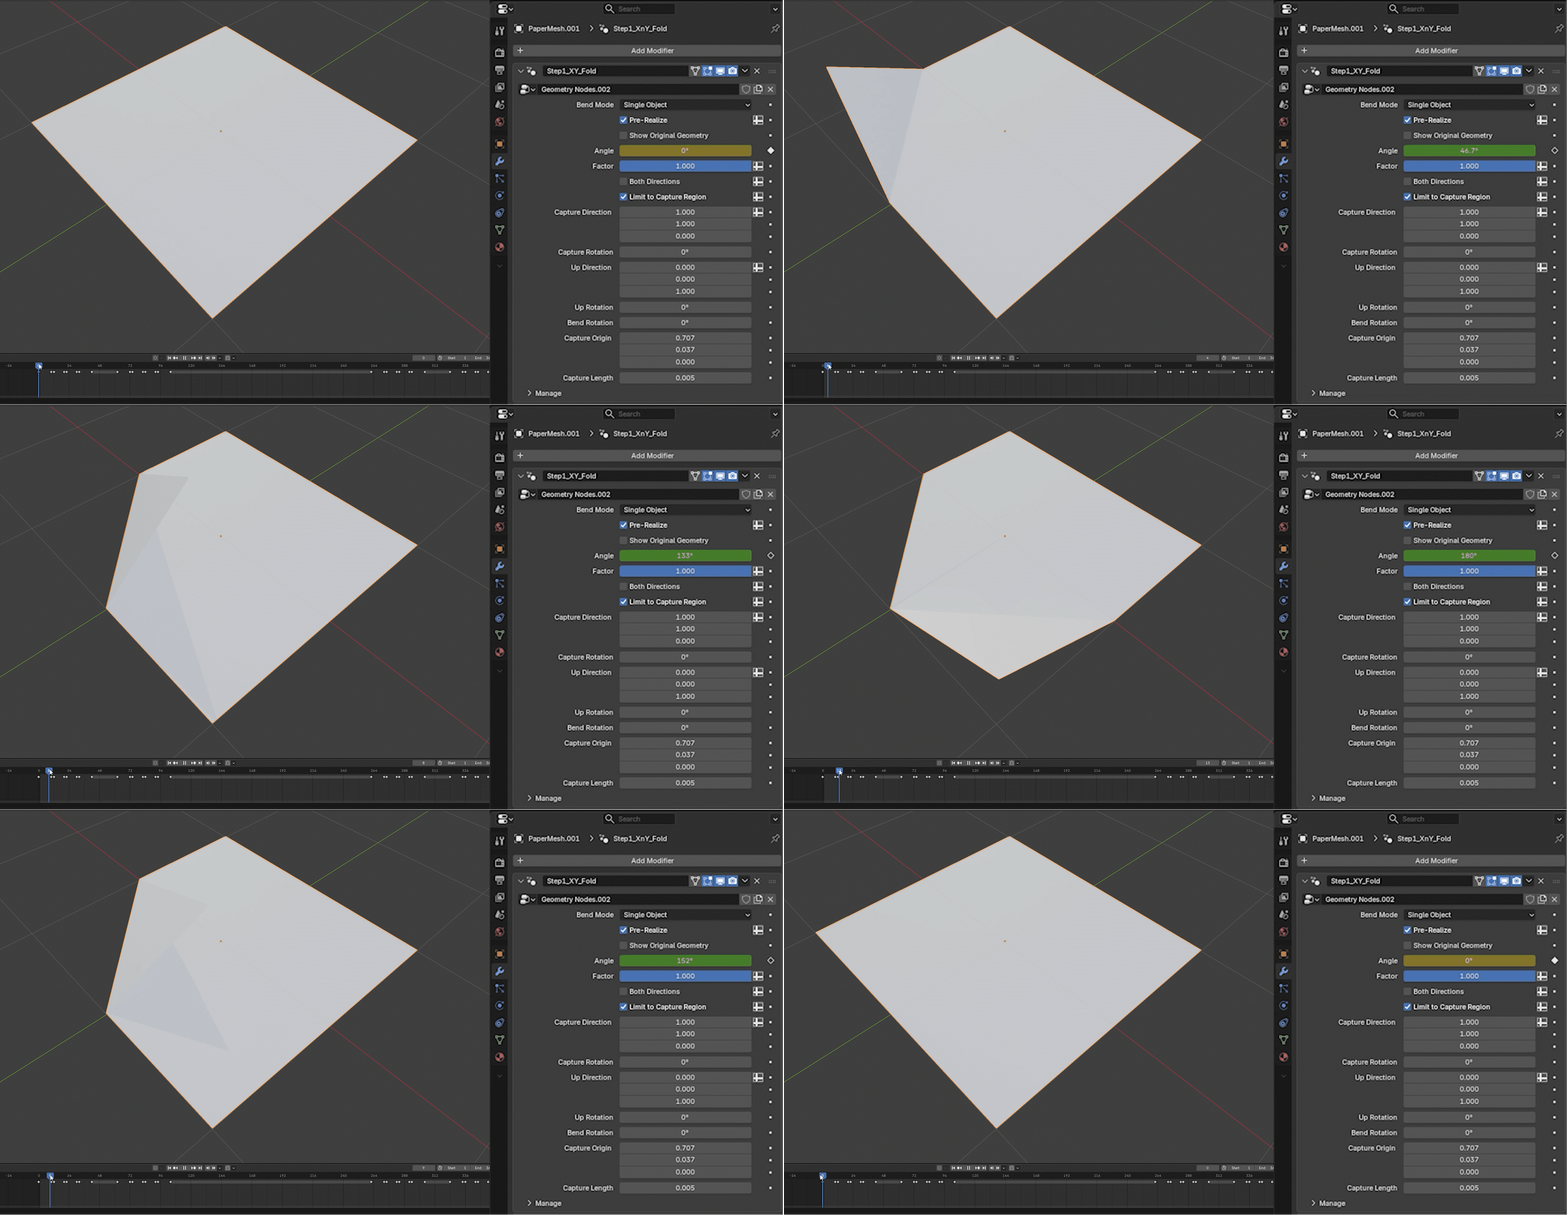
The good thing about Blender is that there is a vast library of plugins made by various users. I was able to find a plugin called “Better Bend,” made by someone named Nate Jolly, that solves both issues mentioned above. This plugin allows me to control the direction of the bend, where the bend starts, and how much of the plane is captured (capture length). Because this plugin is created using geometry nodes, I can easily key the angle value to the animation timeline.
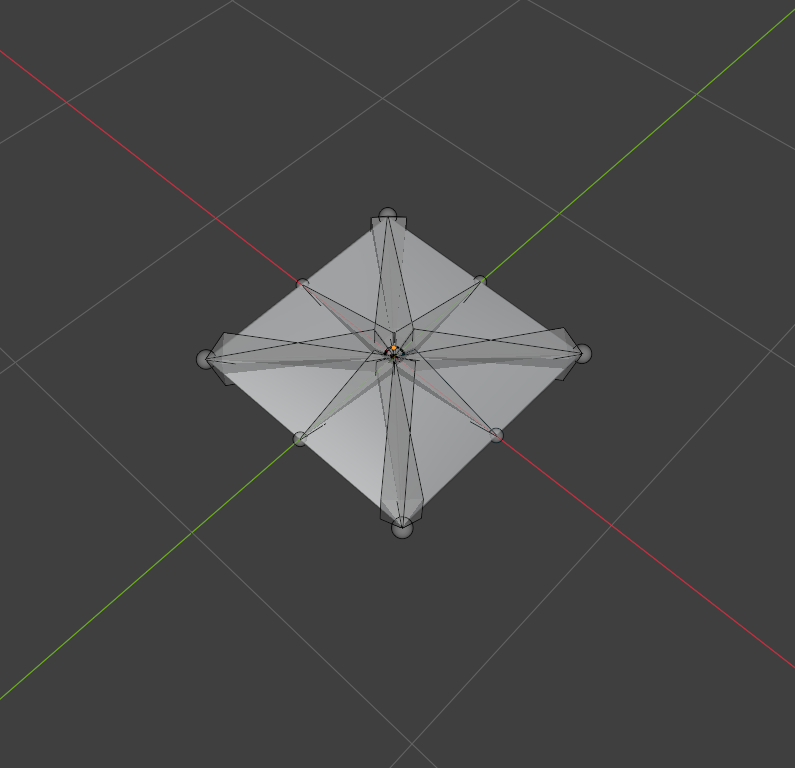
The next roadblock I encountered was with the more complicated folding that happens after the first eight folds happen. At this point, I could have created a modifier for each of the individual edges; however, for simplicity, I opted to rig the mesh. The reason I chose not to rig the entire mesh is because that would require a bone on every single fencing edge and folded edge to ensure the polygons don’t overlap. Thankfully, Blender allows both modifiers and bones to influence a meshes vertices’ positions at the same time.
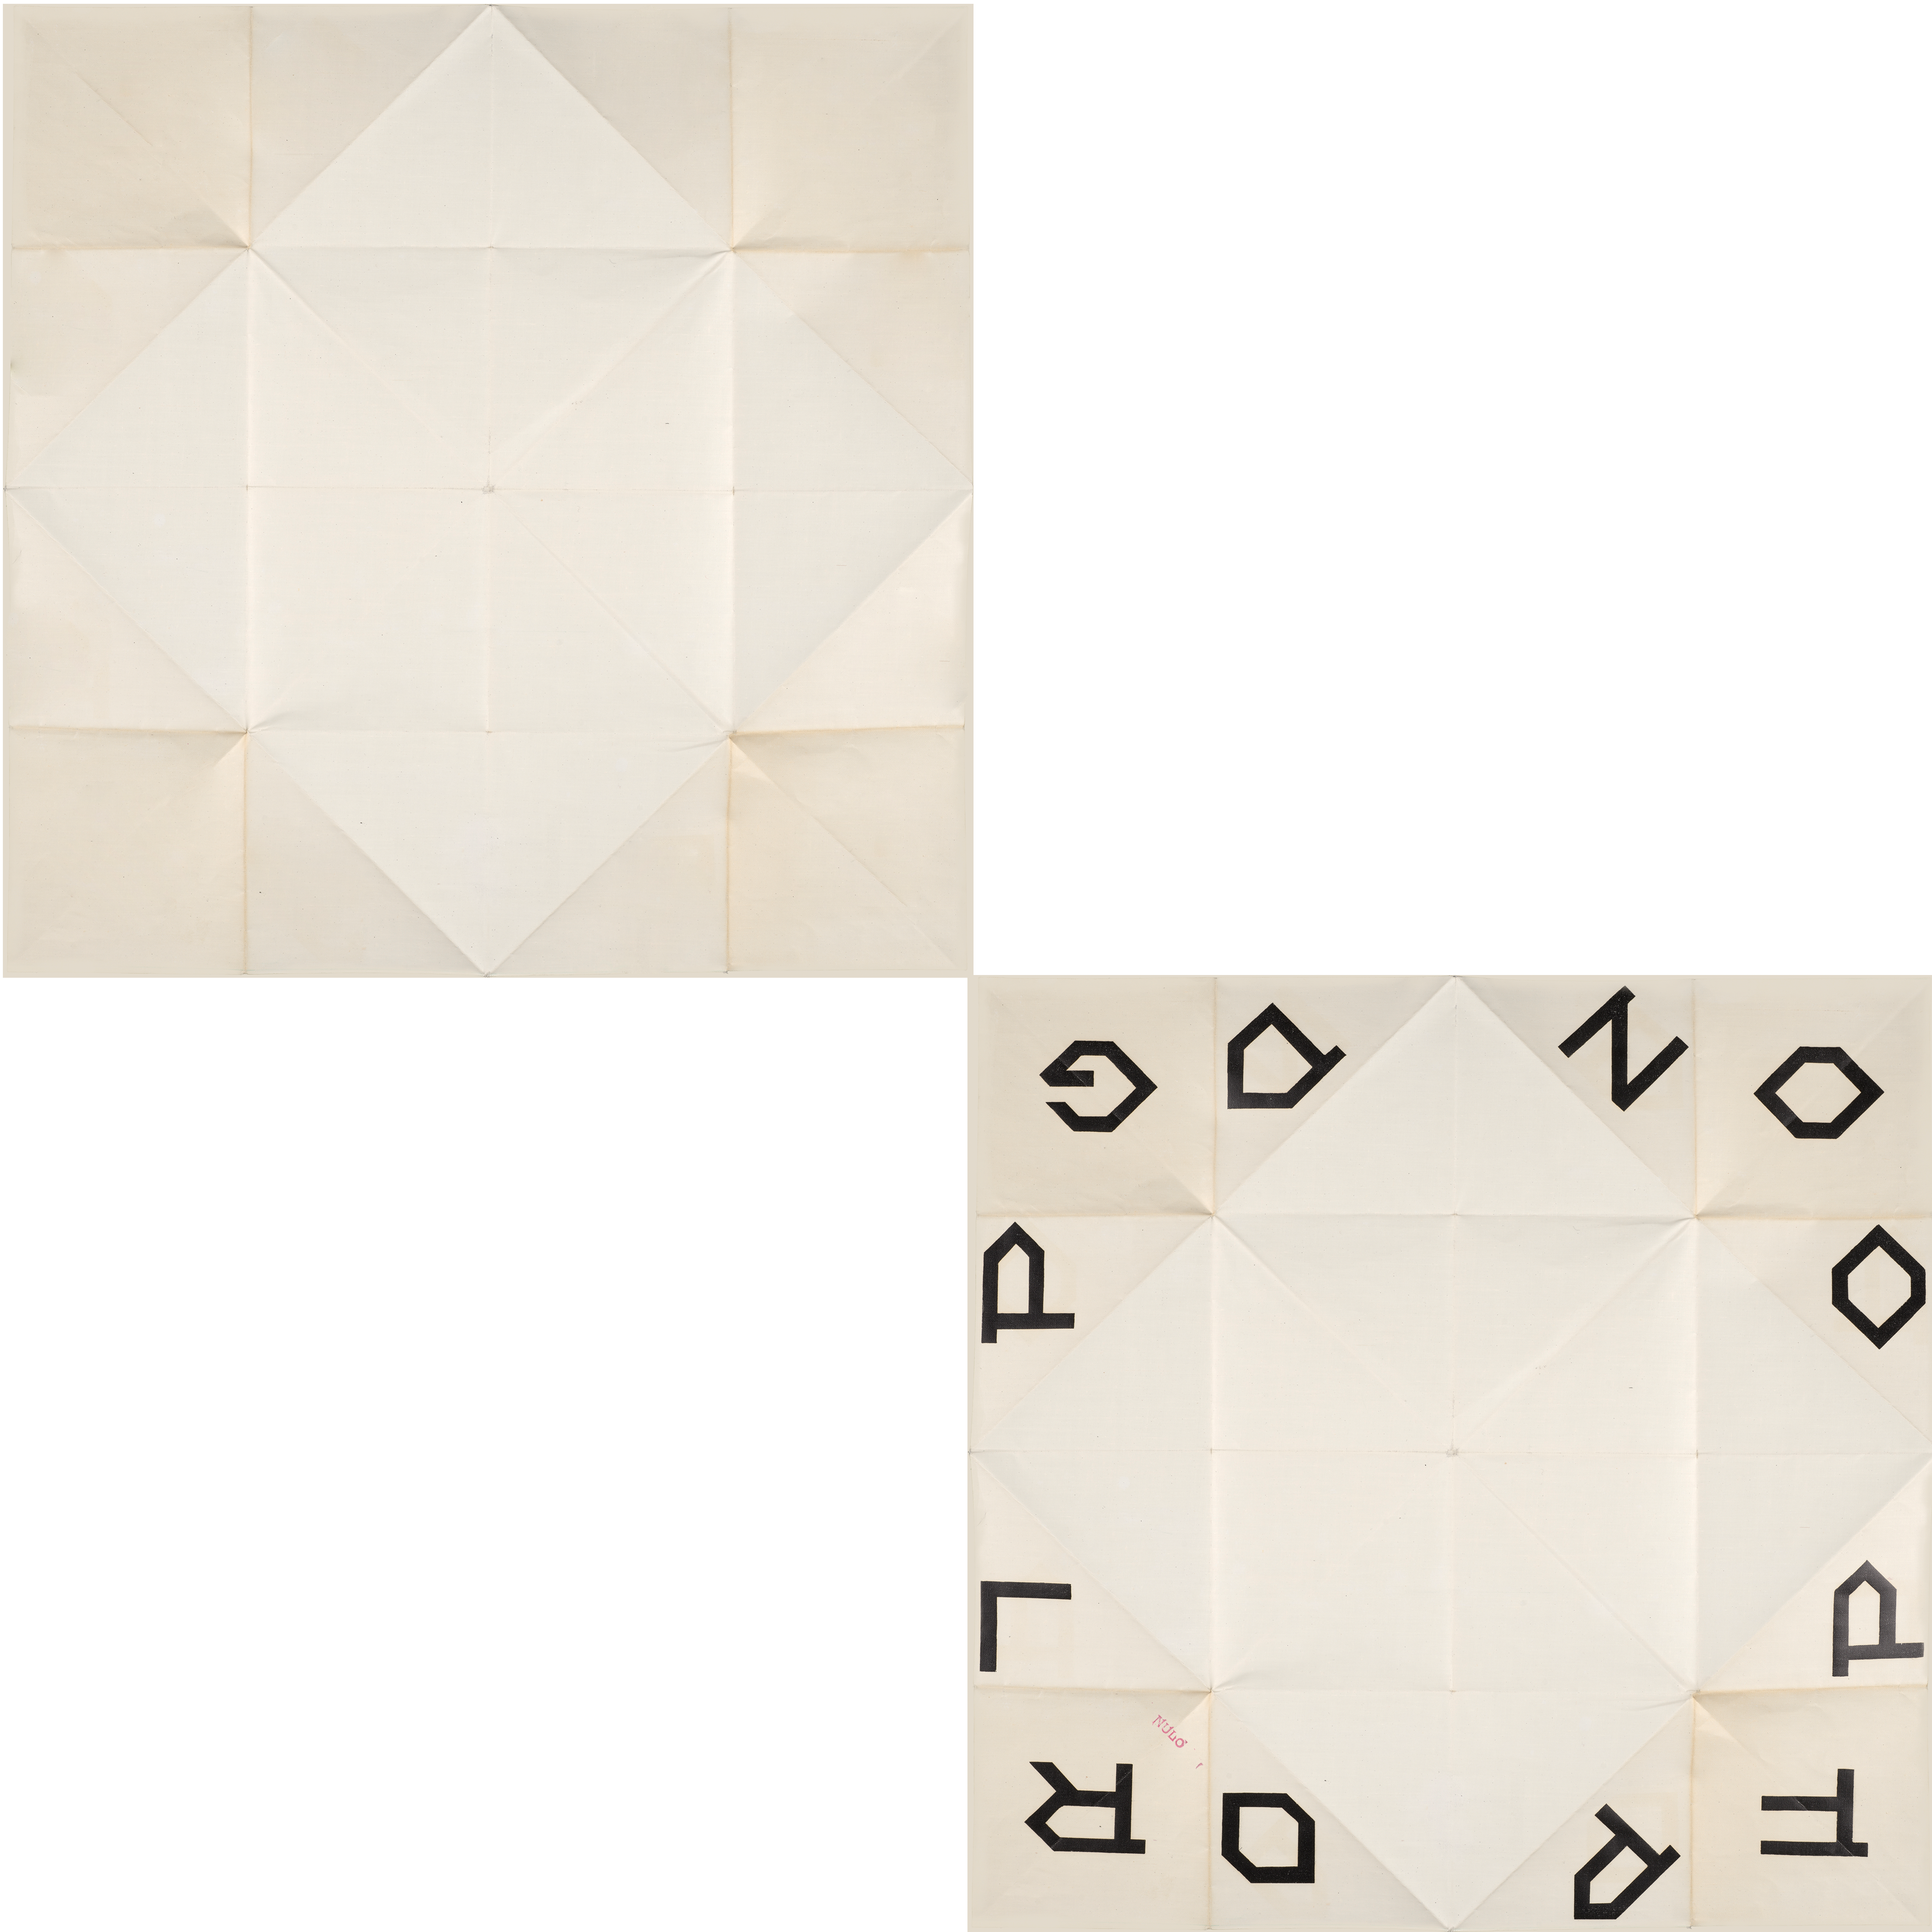
For the mesh material, there were a couple of unique challenges. Because the final goal for this project was to put it on Sketchfab, I had to work around the constraints of that platform. Through testing, I found that Sketchfab doesn’t like applying multiple materials to the same object. To circumvent this, I created two of the baked planes and made them render only one side of the plane, then lined up the UVs accordingly.
The final piece of the puzzle is to put everything together into an exportable format. From my research, blender doesn’t have a way to bake vertex positions from modifiers and an armature, so I created a short script to do so. The script runs by first checking to see if the selected object in the outliner is a mesh. It then will duplicate the mesh and clear all the parent constraints and modifiers from the duplicated mesh. The script then iterates through the animation timeline and bakes each vertex’s position to the duplicated mesh. The final product is clean mesh with baked animations that can be exported as an FBX file.
import bpydef bake_to_shape_keys(): scene = bpy.context.scene start = scene.frame_start end = scene.frame_end original = bpy.context.active_object # Ensure we're working with a mesh if original.type != 'MESH': print("Error: Active object is not a mesh. Select the mesh object and run again.") return # Duplicate only the mesh object bpy.ops.object.select_all(action='DESELECT') original.select_set(True) bpy.context.view_layer.objects.active = original bpy.ops.object.duplicate() baked = bpy.context.active_object baked.name = original.name + "_Baked" # Remove all modifiers from the duplicate baked.modifiers.clear() # Clear armature parent if present if baked.parent and baked.parent.type == 'ARMATURE': bpy.ops.object.parent_clear(type='CLEAR_KEEP_TRANSFORM') # Remove any existing shape keys if baked.data.shape_keys: baked.shape_key_clear() # Add Basis from frame_start scene.frame_set(start) bpy.context.view_layer.update() depsgraph = bpy.context.evaluated_depsgraph_get() eval_mesh = original.evaluated_get(depsgraph).to_mesh() basis = baked.shape_key_add(name="Basis", from_mix=False) for i, v in enumerate(eval_mesh.vertices): basis.data[i].co = v.co original.evaluated_get(depsgraph).to_mesh_clear() # Bake each frame for frame in range(start, end + 1): scene.frame_set(frame) bpy.context.view_layer.update() depsgraph = bpy.context.evaluated_depsgraph_get() eval_obj = original.evaluated_get(depsgraph) eval_mesh = eval_obj.to_mesh() sk = baked.shape_key_add(name=f"Frame_{frame:04d}", from_mix=False) for i, v in enumerate(eval_mesh.vertices): sk.data[i].co = v.co sk.value = 1.0 sk.keyframe_insert("value", frame=frame) if frame > start: sk.value = 0.0 sk.keyframe_insert("value", frame=frame - 1) if frame < end: sk.value = 0.0 sk.keyframe_insert("value", frame=frame + 1) eval_obj.to_mesh_clear() if frame % 25 == 0: print(f"Baked frame {frame}/{end}") scene.frame_set(start) print(f"Done. '{baked.name}' has {end - start + 1} shape keys.")bake_to_shape_keys()

