Video Demo
This project was an independent exploration of the capabilities of procedural generation in Houdini. This tool is able to create different tree structures with different parameters and will also ensure that the topology and UVs are acceptable for the scope of a game. In theory the tool could be used for development in any game engine, but with this project I focused on working with Unreal Engine 5.
Planning
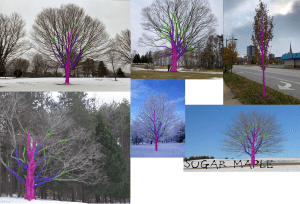
The first week on the project, I gathered some references of trees without their leaves to visualize how branches grow. I also researched L-systems, or Lindenmayer Systems. These systems are sets of phrases that run recursively for as many times as you specify. This creates fractal structures that resemble trees, however the recursive nature of the systems makes the branches identical.
Setting up the Trunk

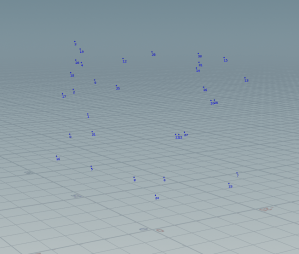
The points of the trunk are plotted with an Attribute Wrangle node. In these nodes, you are able to write scripts using Houdini’s language, VEX. This language is loosely based on C. These nodes are very useful when you want to create/modify attributes, which are pieces of data that are attached to individual primitives, points, edges, or vertices. Tree branches grow in a somewhat layered way, so the points of the trunk are also used as the spawn points for the branches. As shown below, the setTrunkPoints node has 3 parameters exposed to the user, layers, trunkLength, and multiplier. Layers are the amount of points plotted. Trunk length is how far the points are from each other on the y-axis. Multiplier controls how rapidly the trunk segments start getting smaller.

Creating Attributes for Later

I created the attributes trunkDensity, branchConeAngle, and branchLength. These attributes are used to store the values of density(radius of trunk), angle, and length. These three attributes have the value of 1 on the point at 0,0,0 and the next point up the trunk regardless of how many trunk point there are. Then I used the attribute blur to make the subsequent points going up the trunk have smaller values based on how far they are up the trunk. This is useful to make the branches get shorter as they go up the trunk or make the trunk taper at the top.
Branch Spawning Setup
The number of branches spawned at each level is based on baseBranchCount and trunkDensity, which are both parameters the user can change. By using multiplying trunkDensity with baseBranchCount at each point, the user can decrease the amount of branches as they are spawned higher up the trunk. This was created because before this, the tops of the trees were far too densely packed with branches. Then, based on the number of branches on each layer, the normal vectors rotated at equal intervals around the trunk. Each point on the trunk spawns a branch, however, the points need to have velocity and a normal vector. To fix this, I used another wrangle node. This makes the velocity and normal vector of the point based on what maxConeAngle is. If maxConeAngle is smaller, the branches will grow more vertically. If it is larger, the branches will grow more horizontally. There is also a random multiplier that rotates the normal a random amount on the z axis. This is done in the setSmallerCone node

The setVelocityandNormal node creates new points at each layer as needed. It also sets the normals and velocities of each new point with the correct angles and ensures that all other attributes are transferred to the new points.
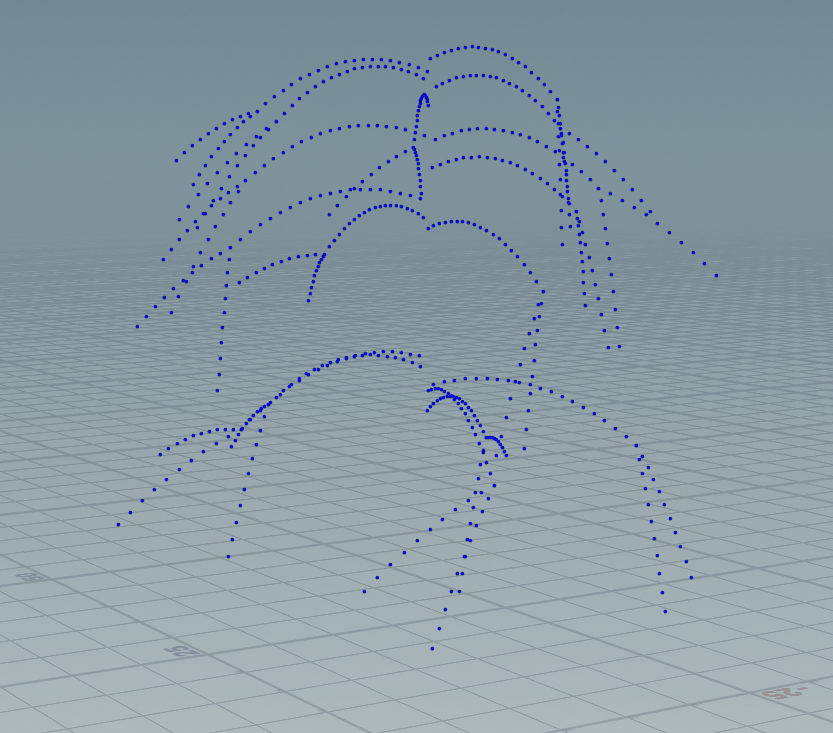
Growing the Branches
To create the actual branch structures, I made use of Houdini’s POP Networks (POPs) which are Houdini’s particle systems. Within the POP Network I have a POP wrangle, which is basically an attribute wrangle in a POP Network. POPs run simulations on points based on the timeline in Houdini. The wrangle defines how much time needs to pass before a new node is spawned (the branch is branching). It then sets new velocities and angles to each of the points spawned. POP networks also have gravity, drag and wind nodes that can be used to simulate branches that grew under turbulent conditions or create certain tree species such as Willows.After 20 frames, a new node is spawned. Both the new and old nodes have their velocities set to a different vector and then travel in that direction until the next split

After the point positions were calculated with the simulation, I applied the trail node. The trail node takes the positions of a point from previous frames and plots points at those positions.
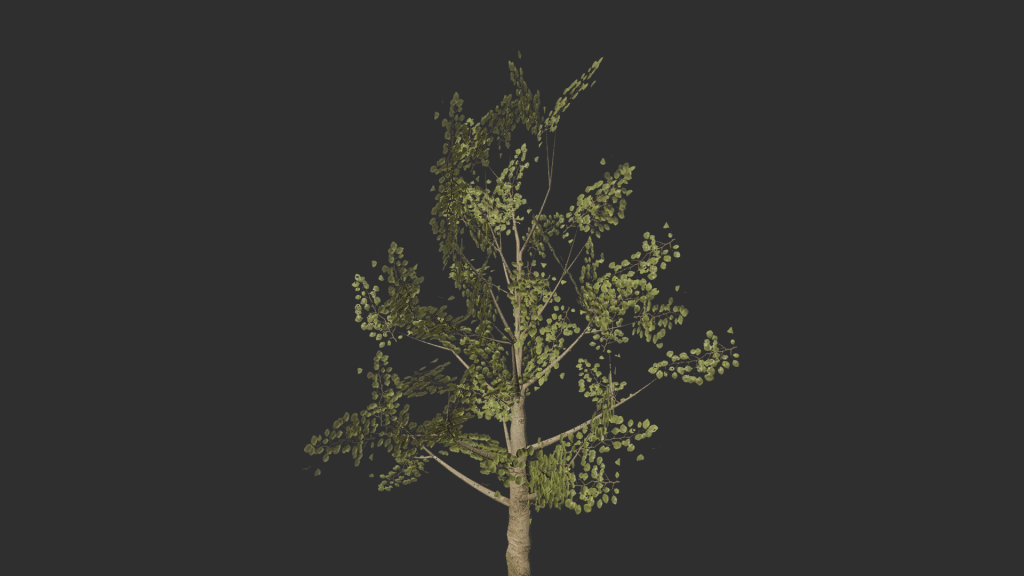
Placing the Leaves
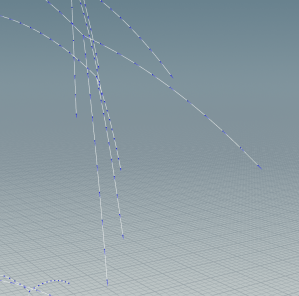
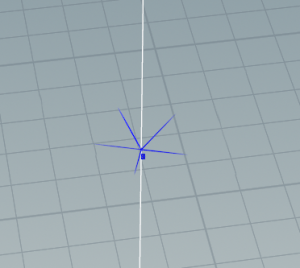
Using the group node, I chose the points at the end of each branch trail as well as random nodes along the length of the branches. I then used the orient along curve node to make the normals of all points along the branch point down the length of the branch. The blue lines represent the direction of the point normal vector. Using the copy to points node, you can take one plane and instance it at each specified point. Foliage in games use vertex color to calculate certain things such as wind influence. In the image shown, the more red the plane is, the more the plane is influenced by wind. In theory I could export the model and vertex colors as and .FBX file, however the Houdini Apprentice license didn’t allow me.

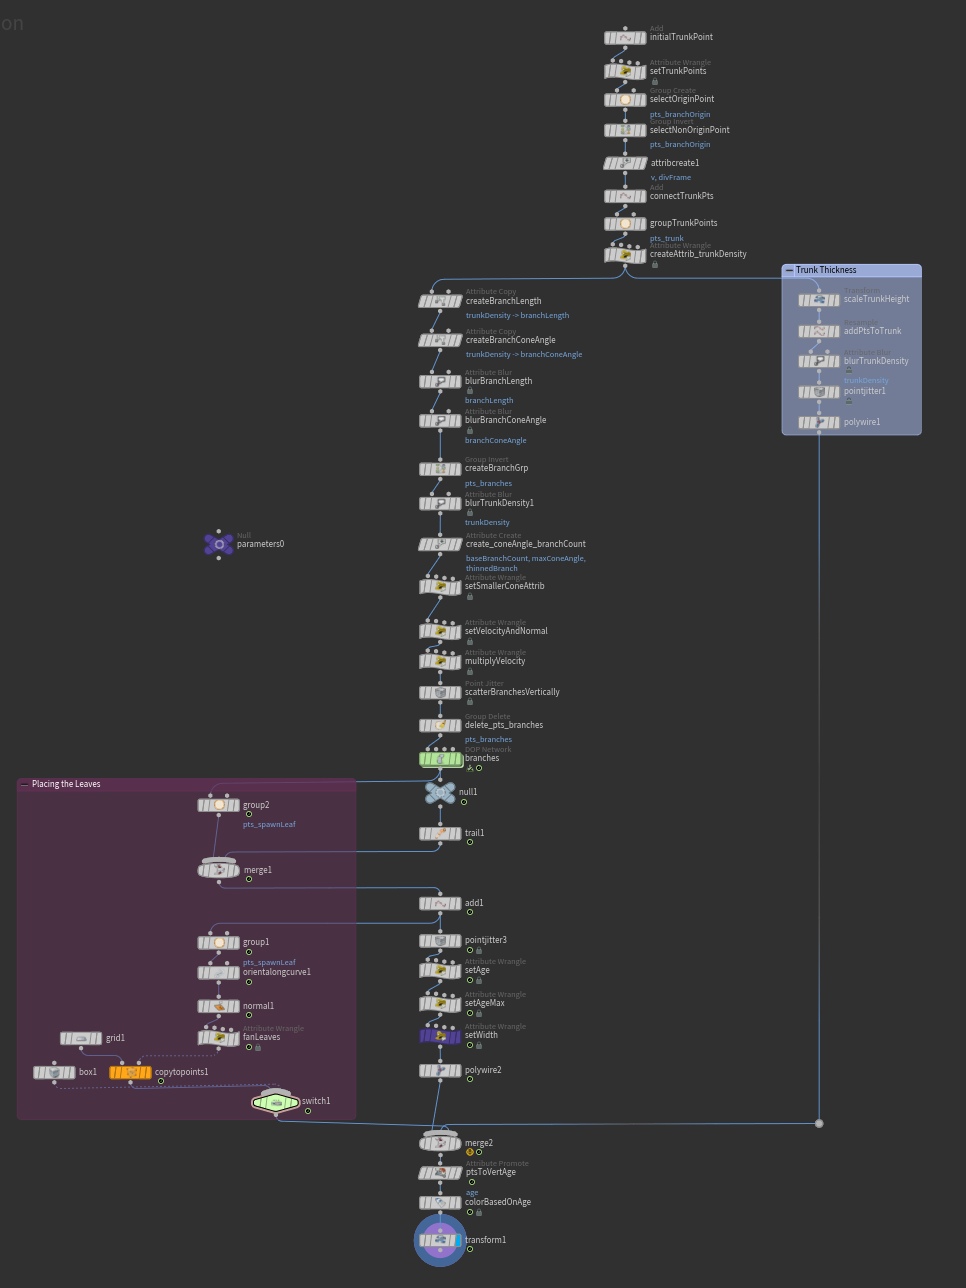
Node Graph
The original branch of the tree splits to calculate trunk thickness (nodes in the blue box). The left side of the tree is calculating the branches and eventually splits again to calculate where to place the leaves (nodes in the pink box). All three of these branches are then merged back together.
Parameter Interface

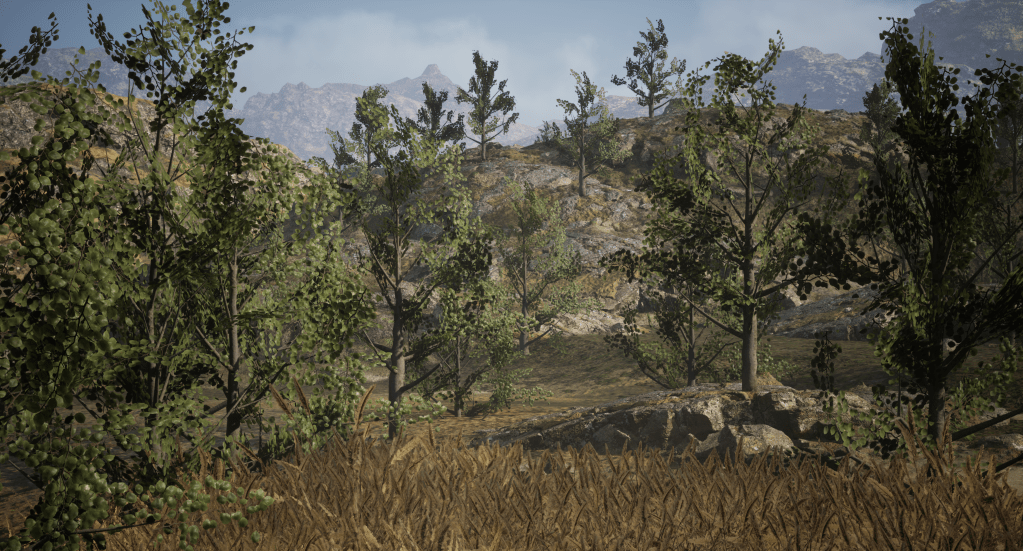
Final Scene with Trees
For the final step, I created a couple of tree variation with me too and exported them. I then used Quixel assets for texturing and creating a small scene to place my trees in.